Skip to main content
Toggle navigation
Search
Log In
My Account
Shopping Cart
Newsletter Signup
Beer
Draft / Kegging
Wine
Spirits
Articles & Recipes
Search
Latest News
Hop Growing Instructions
Winexpert Limited Edition 2023 Wine Tastings - Deadline for Ordering is November 9th!
Yakima Valley Grapes!
2023 Clark County Fair Beer Exhibition Results
2023 Clark County Fair Wine Exhibition Results
We Need Judges to Evaluate the Clark County Fair Beer and Wine Entries!
Featured Products
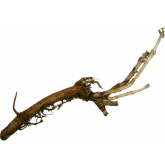
Cascade Hop Rhizome (rootstock) Alpha range 4.5% to 7%
$6.99
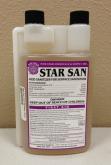
Star San Acid Sanitizer 32 oz
$32.99
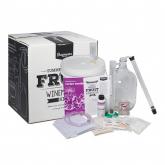
1 Gallon Wine/Mead Equipment Kit
$69.99
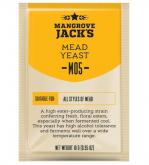
M05 Mangrove jack Mead Yeast
$5.99
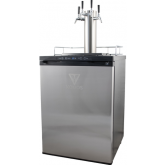
KOMOS V2 Kegerator - 1, 2, 3 or 4 Faucet Towers
$799.99
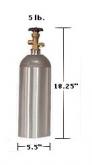
5lb CO2 Tank Refill - Exchange
$22.99
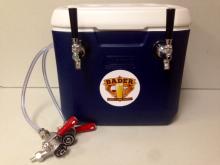
2 Tap Jockey Box - 3 Day Rental
$80.00
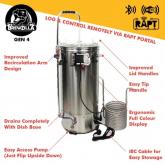
Gen 4 BrewZilla | All Grain Brewing System | 35L | 9.25G | 110V or 220V
$599.99
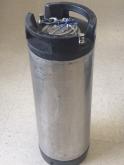
5 Gallon Used Ball Lock Soda Keg
$50.00